How to use RMarkdown
Utilizar RMarkdown (castellano | català)
The symbol # at the start of the line creates a title for a section
First of all, download this R Markdown document and open it on R. Then, KNIT this document with the button available on the screen of your RStudio. It will generate a HTML file with the output of this script.
Here you can introduce text as normal. For a paragraph jump, use two spaces at the end.
Notice in this line there are two spaces here at the end.->
On the contrary, in this line we don’t end with spaces, so there is no paragraph jump when knitting.
With the - you can create bullet points:
- Anywhere in the text, use for bold.
- Anywhere in the text, use for italics.
- Anywhere in the text, use for webpages.
- Again, remember to use two spaces at the end of the paragraph for a paragraph jump.
This is the logo of RMarkdown:
You can upload images to RMarkdown from internet links using exclamation sign and squared brackets and the link to the image in normal brackets. 
Use two ## or three ### to create subsections
With the chunks we can add code to the text. The chunks are these grey boxes you will find through this RMarkdown script. Inside the chunks we place the R code. If you want to create new chunks:
You can select some chunk below and copy paste it.
Or alternatively, type in your keyboard Ctrl + Alt + I (OS X: Cmd + Option + I).
The first chunk in a RMarkdown document normally loads the packages we are going to use.The first chunk will be named packages. Inside the chunk, we load dplyr and ggplot2.
library(dplyr)##
## Attaching package: 'dplyr'## The following objects are masked from 'package:stats':
##
## filter, lag## The following objects are masked from 'package:base':
##
## intersect, setdiff, setequal, unionlibrary(ggplot2)Look at how the document is KNITTED. You can see that the package load displays all the messages that appear in the console. We need to see this in the final document, so let’s remove it:
- We will change the chunk packages.
- After the word packages, add message = FALSE.
- It should appear like {r packages, message = FALSE}
- Now KNIT it again and see the results!
The chunk, therefore, contains the name of the chunk and also some indications on how is going to be displayed:
- message: displays (TRUE) or not (FALSE) messages.
- warning: displays (TRUE) or not (FALSE) warnings.
- echo: TRUE by default, it hides the code when changed to FALSE.
- eval: TRUE by default, it hides the output when changed to FALSE.
- include: TRUE by default, it hides everything when changed to FALSE.
Now let’s see some examples. In the following chunk, we want to show the code but not the output. For this reason, we have turned eval = FALSE. Notice that the ticks transform text into code format. Name this following chunk as you wish. Make sure every chunk has different names, otherwise you will not be able to KNIT the document.
hello <- c("hello")
hello
glimpse(starwars)
Now remove the part eval = FALSE and Knit it again!
In the next chunk, we hide the code and display the output with echo = FALSE. We are interested in knowing the distinct worlds of Star Wars.
##  [1] "Tatooine"       "Naboo"          "Alderaan"       "Stewjon"
##  [5] "Eriadu"         "Kashyyyk"       "Corellia"       "Rodia"
##  [9] "Nal Hutta"      "Bestine IV"     NA               "Kamino"
## [13] "Trandosha"      "Socorro"        "Bespin"         "Mon Cala"
## [17] "Chandrila"      "Endor"          "Sullust"        "Cato Neimoidia"
## [21] "Coruscant"      "Toydaria"       "Malastare"      "Dathomir"
## [25] "Ryloth"         "Vulpter"        "Troiken"        "Tund"
## [29] "Haruun Kal"     "Cerea"          "Glee Anselm"    "Iridonia"
## [33] "Iktotch"        "Quermia"        "Dorin"          "Champala"
## [37] "Geonosis"       "Mirial"         "Serenno"        "Concord Dawn"
## [41] "Zolan"          "Ojom"           "Aleen Minor"    "Skako"
## [45] "Muunilinst"     "Shili"          "Kalee"          "Umbara"
## [49] "Utapau"
And finally, the next code displays a figure. The code is not displayed, but we also want to hide the warning message. Now it’s your turn:
- Add an indication in the following chunk that would remove the
warningmessage.
starwars %>%
  ggplot(aes(x = height, y = log10(mass), col = gender)) +
  geom_point() +
  theme_bw() +
  labs(title = "Height and weight of Star Wars characters, per gender",
       x = "Height", y = "Weight (log10)", col = "Gender")
## Warning: Removed 28 rows containing missing values (geom_point).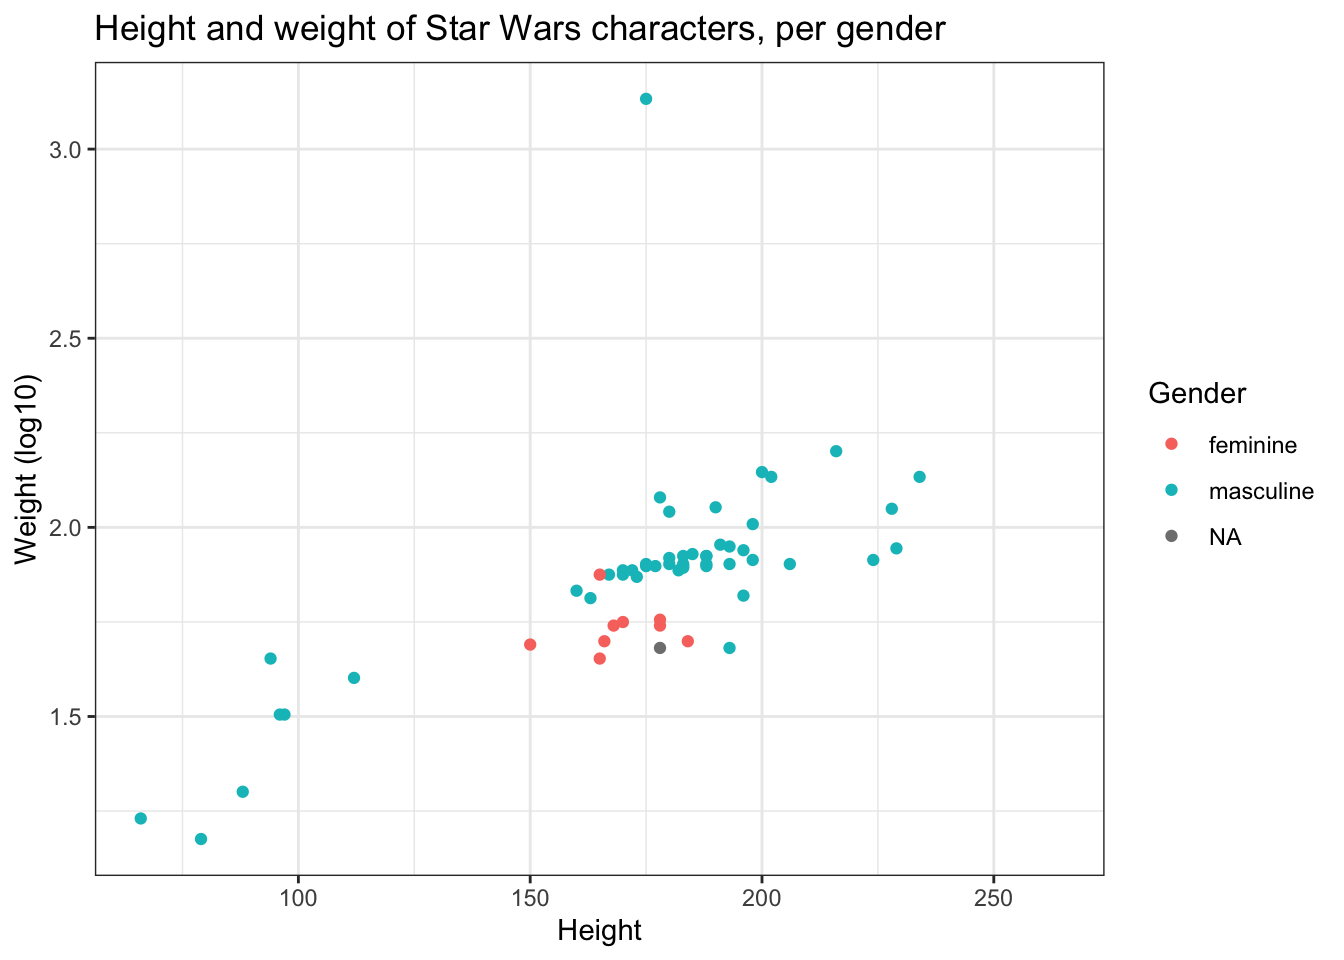
We can also embed videos (the next chunk only works for the blogdown version):
blogdown::shortcode("youtube", "CjTLN-FXiFA")More info in:
If you want to know more about RMarkdown, use these links: